
Did you know that black beans actually make a fantastic, healthy ingredient for baking? Maybe sweets and desserts is not the first thing that comes to your mind when you think about black beans. But these small protein power packs make some awesome soy and gluten free brownies. Because the cooked beans themselves have little taste of their own. So if you add raw cocoa, some sweetness and cinnamon, the result is an aromatic chocolate treat that simply tastes delicious. I bake these brownies very often as you can easily keep them fresh in the fridge for about a week. This way you are always prepared for chocolate cravings. On top it’s a much healthier snack than classic chocolate bars or many other desserts. It’s also a quick recipe, as all the ingredients are simply blended and then baked. Today I’ll show you the brownies with a creamy chocolate-almond glazing, but you can also prepare them pure without the icing. Let’s go! Enjoy the chocolaty bean treat. Looking forward to your comments and feedback, yours Lea.
Ingredients (9 brownies)
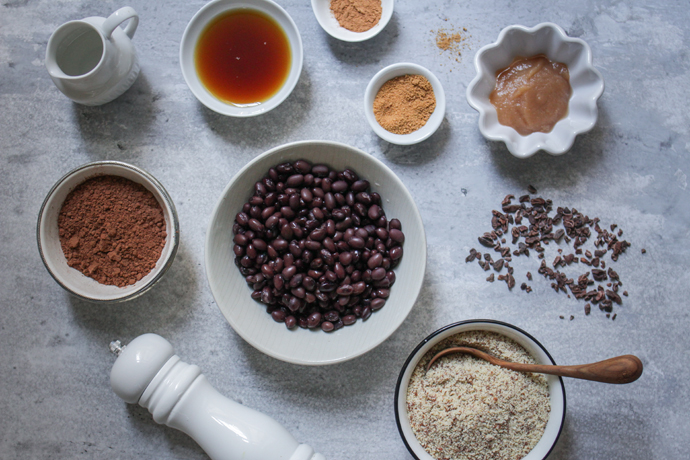
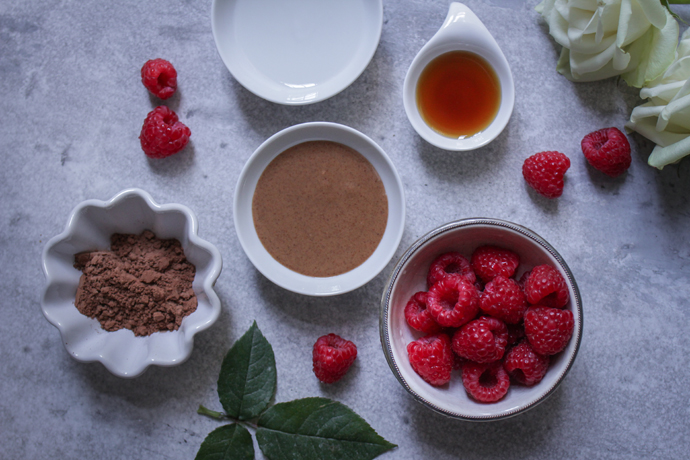
- 1 can/400 g (14 oz) cooked black beans
- 3 heaped tbsp. cocoa powder
- 100 g/ 1 cup ground almonds (or hazelnuts)
- 3 tbsp. maple syrup
- 1 tbsp. coconut sugar
- 1 tbsp apple sauce
- 50 ml (1/4 cup) liquid coconut oil
- 2 tsp. cinnamon
- 2-3 tbsp. cocoa nibs (optional for a nice “crunch”)
For the topping/glazing
- 4 tbsp. coconut oil
- 1 tbsp. maple syrup
- 2 tbsp. dark almond butter
- 1 tbsp. cocoa powder
- 2 tsp. peanut butter
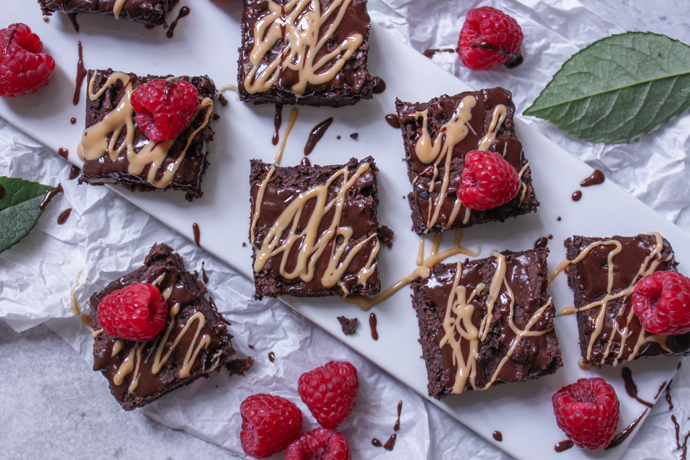
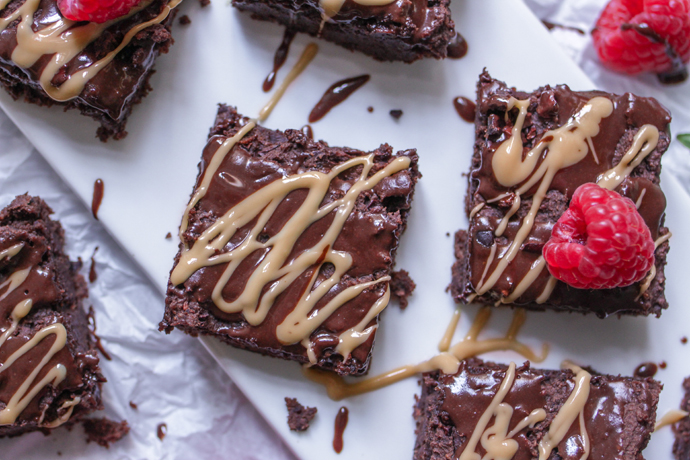
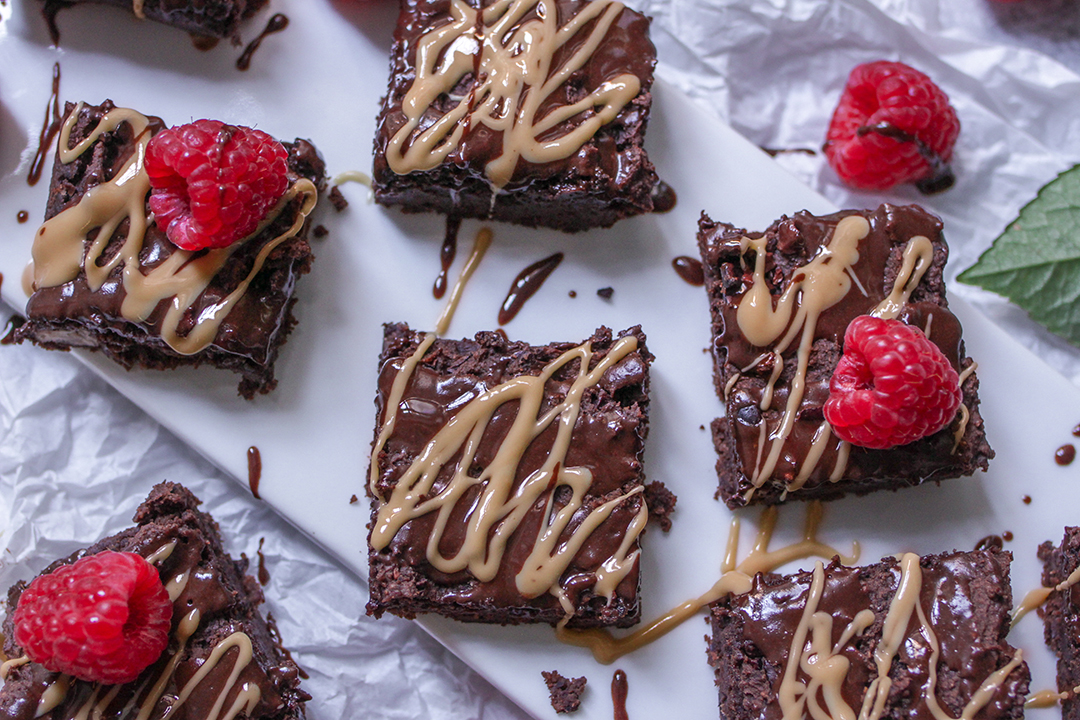
- Raspberries to your taste
You also need: a baking mould (26 x 18 cm (10 x 7 inch) or smaller)
Good to know: The glazing for the brownies in this recipe is optional. They taste delicious even without it, though the icing makes them even more moist and intense in taste. You can eat the brownies right after baking, but I reccommend to cool them in the fridge for some hours as it makes the glaze nice and firm. Covered, they stay fresh in the fridge for several days.
Instructions (10-15 Minuten working time + 20 minutes baking + 30 minutes cooling)
- Line the baking mould with baking paper. Preheat oven to 180 °C (356 °F) fan/circulating air.
- Blend all the ingredients for the dough (except for the cocoa nibs!) in a highspeed-blender until creamy . Then stir the cocoa nibs into the dough and pour into the mould.
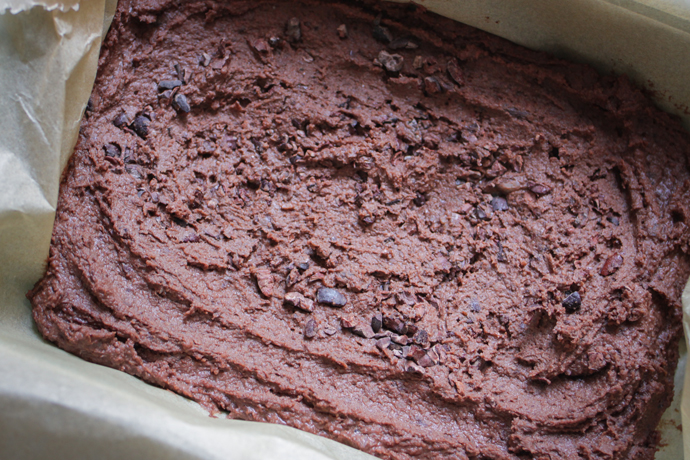
- Spread the dough evenly with a spoon and bake it in the oven at 180 °C (356 °F) for 20-24 minutes. Tip: Do not spread the brownies too flat. If your form is a bit too big – no problem – you don’t have to spread the dough to the edge. The dough is viscous and you can leave room for the edge. The dough doesn’t open anymore and the brownies will stay as thick as they were spread out.
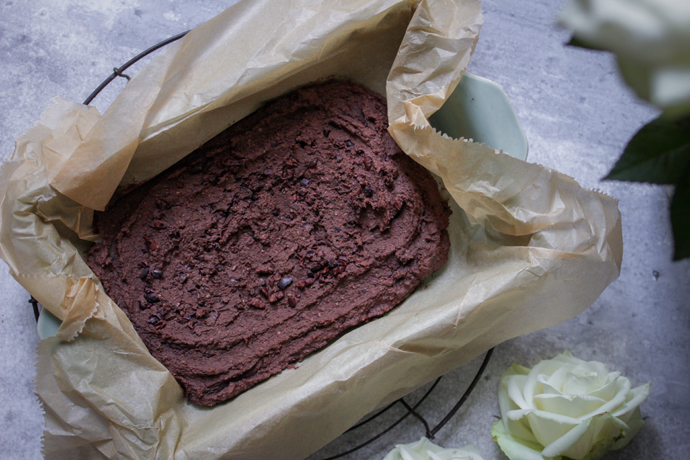
- Remove baked brownie dough from the oven and let it sit for 10 minutes.
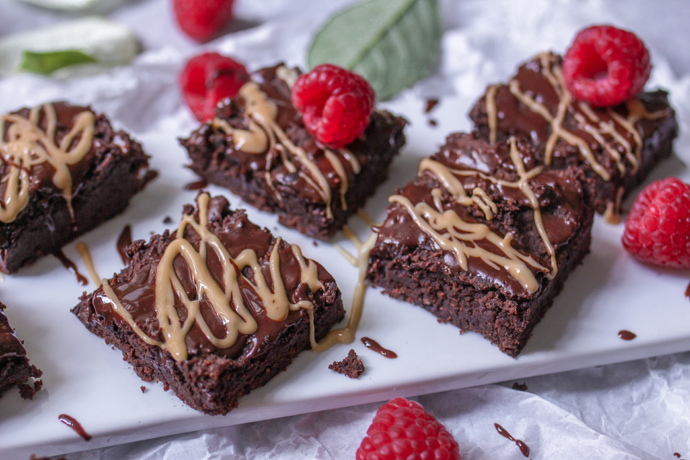
- For the glazing/topping stir together coconut oil maple syrup, dark almond butter and raw cocoa till creamy and pour over the brownie cake. Let it cool down in the fridge for about 20-25 minutes.
- Remove the brownie dough from the fridge (the glaze should be a little firmer now), cut into pieces, sprinkle with peanut butter and serve with raspberries.
Keep the brownies in the fridge. They still taste delicious after several days!